OAuth 2.0 + OpenID Connect setup guide
This guide assumes that you have Docker installed.
You can find instructions on how to install docker engine here.
Identity Provider
Set up an identity provider with:
docker run -p 127.0.0.1:8080:8080 -e KC_BOOTSTRAP_ADMIN_USERNAME=admin -e KC_BOOTSTRAP_ADMIN_PASSWORD=admin quay.io/keycloak/keycloak:26.5.6 start-dev
See for details Keycloak Docker
Open http://localhost:8080/admin/ and login with username=admin and password=admin
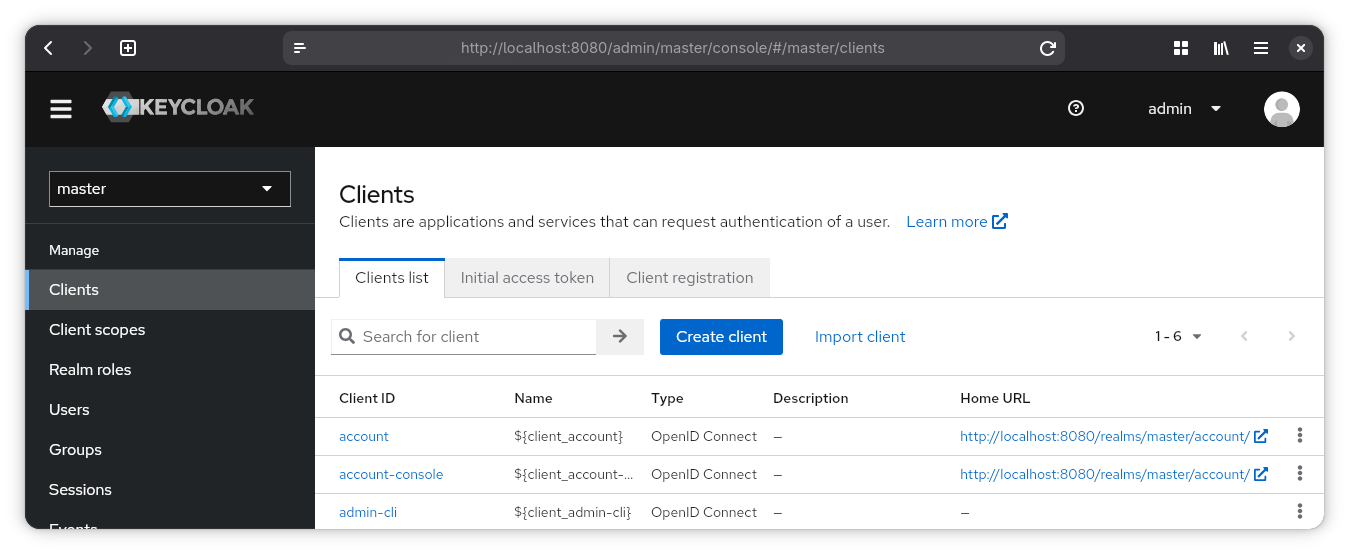
Configure client
Under “Clients” in sidebar, click “Create Client”.
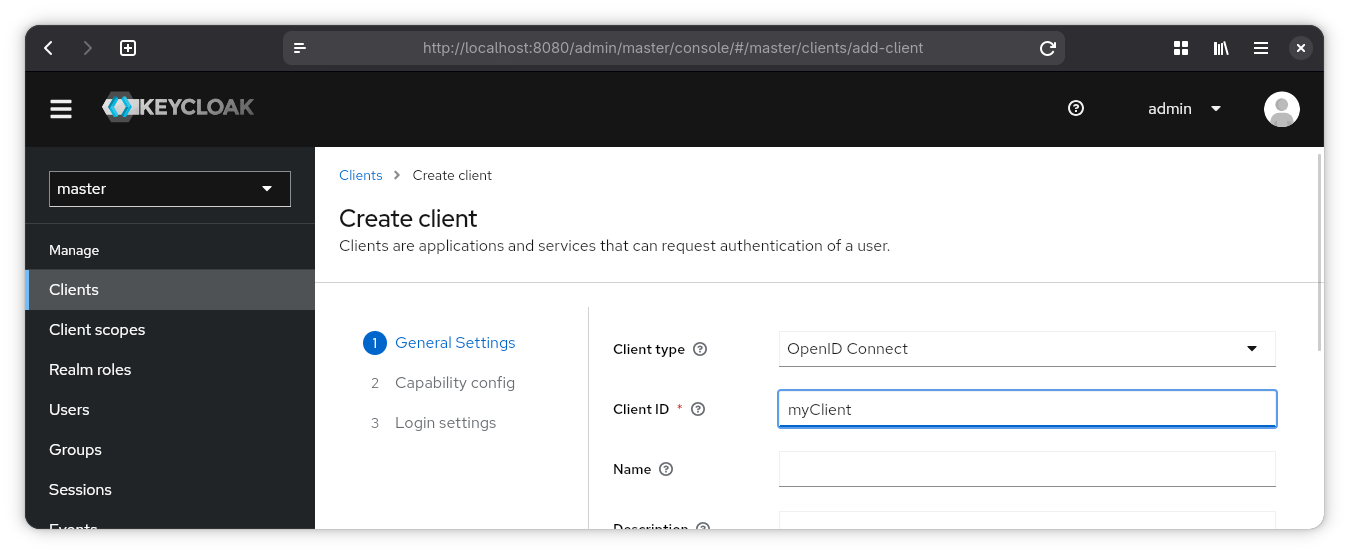
General Settings
Client Type: OpenID Connect
Client ID: type an ID for your client
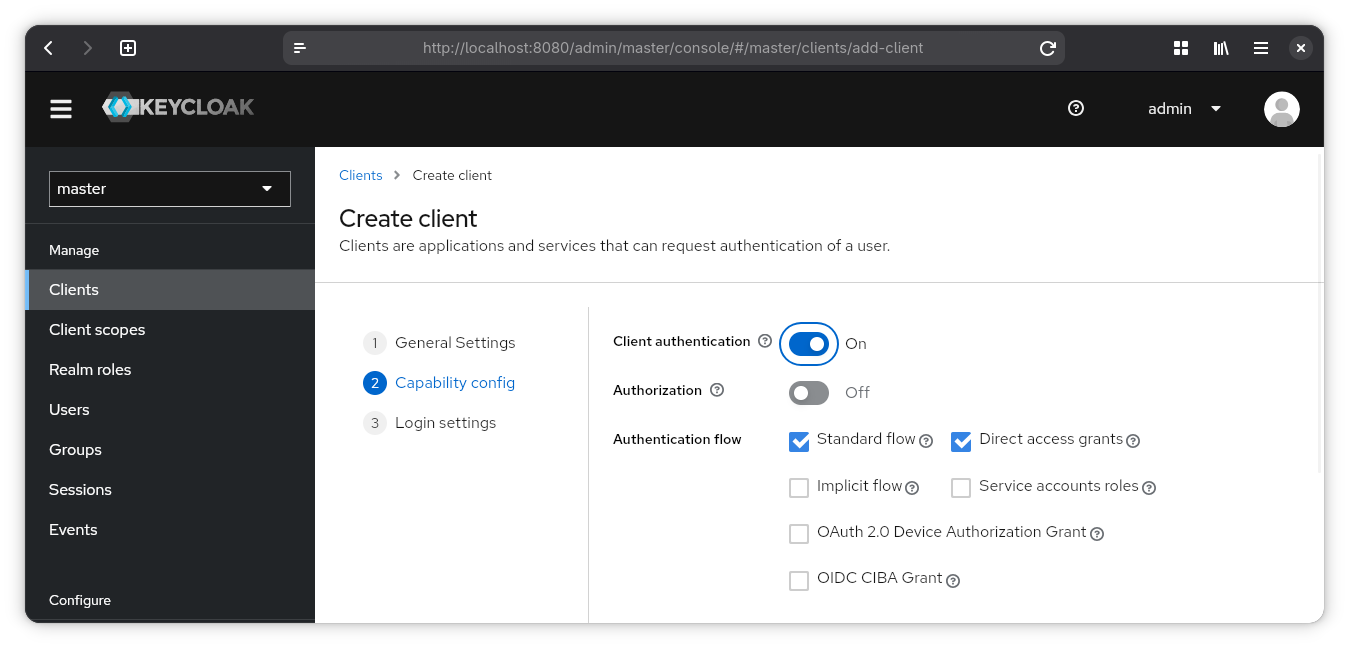
Capability Config
Make sure that “Client authentication” is on.
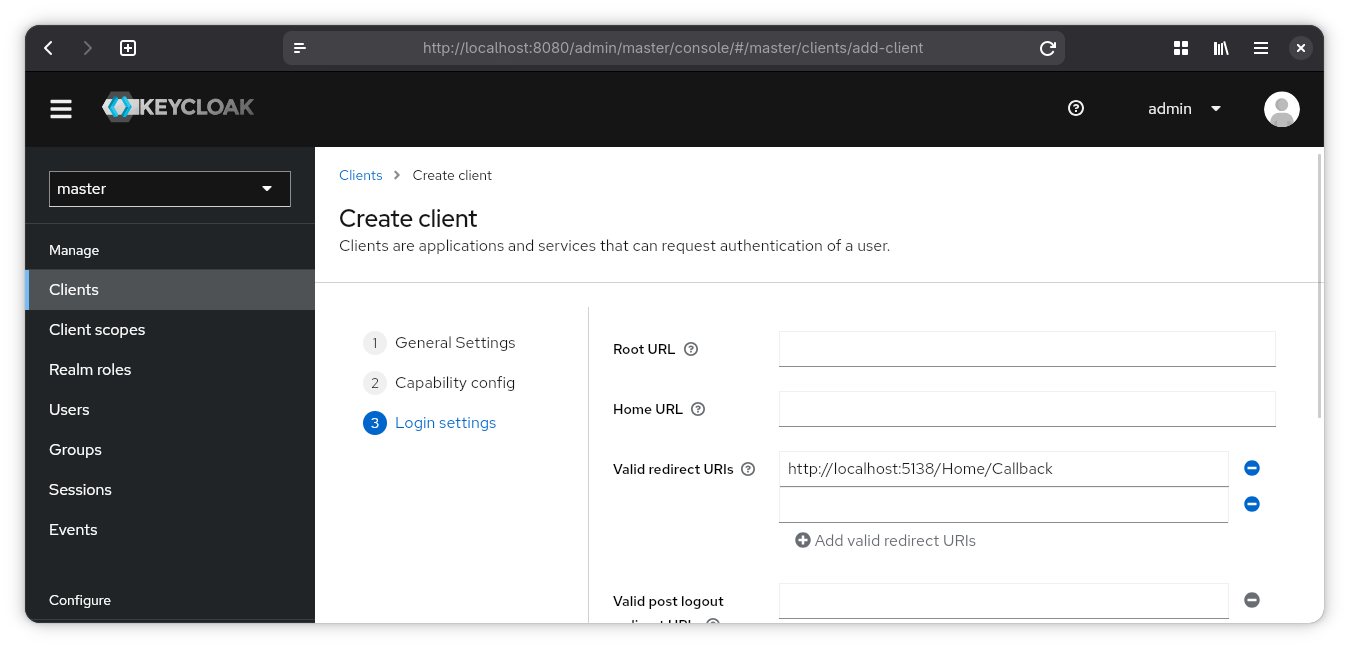
Login Settings
Valid redirect URIs: callback / redirect of your client
Now “Save”
You might not know the redirect URI before starting to implement the client. So come back and adjust later.
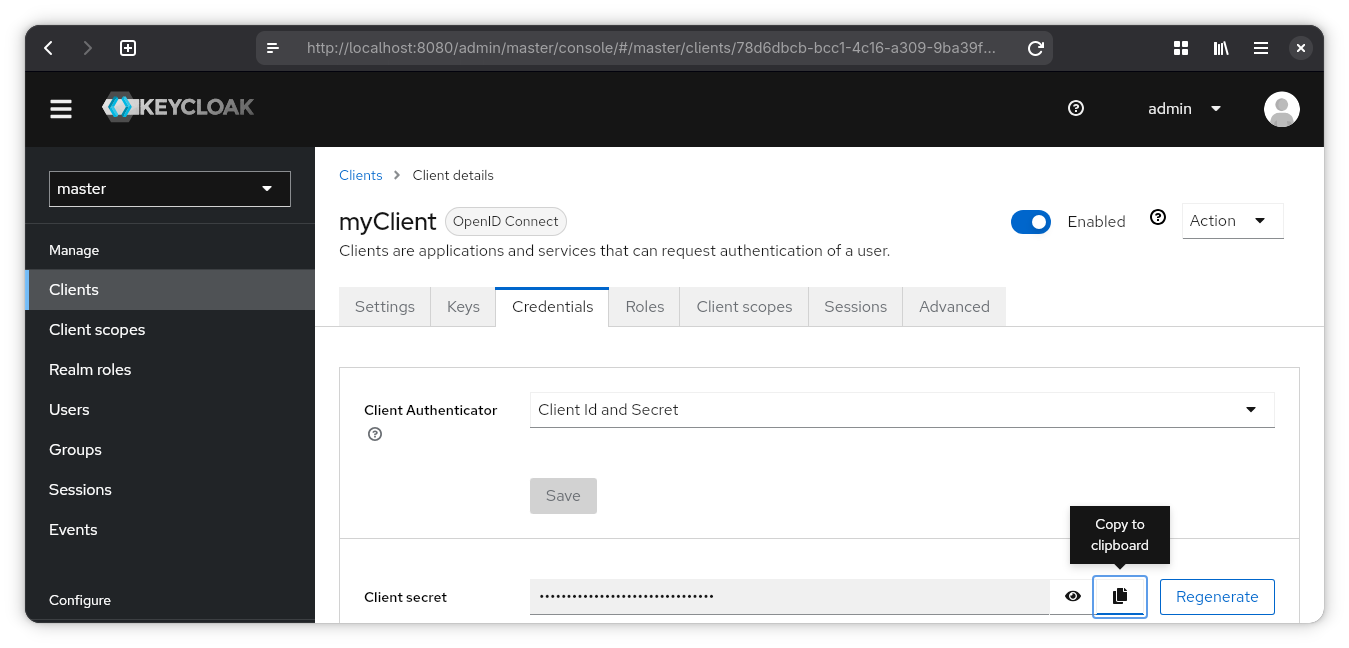
Credentials
You can now find client credentials under the “Credentials” tab.
Endpoints
You can find all the endpoints by going to “Realm settings” then open OpenID Endpoint Configuration.